 Wajdi Alkayal

Best practices for React iframes
6 min read

When building webpages, developers often need to include resources from other webpages. Some common examples that you may recognize from browsing the web include the share button from Twitter, the like button from Facebook, and the map display from Google Maps.
A popular way to retrieve this type of data is with an iframe. Short for inline frame, an iframe is essentially a frame within a frame. Using the <iframe/> tag, you can easily embed external content from other sources directly into your webpage. Developers also use iframes to isolate certain resources from the same webpage, for example, encapsulating components in iframes by rendering them.
In this tutorial, we’ll explore iframes in React by looking at these two different use cases. First, let’s cover some background information on how iframes work and how we should use them. Let’s get started!
Best practices for using iframes in React
When a resource is rendered in an iframe, it functions independently of the parent component where it is embedded. Therefore, neither the parent component’s CSS styling nor its JavaScript will have any effect on the iframe.
In React, developers use iframes to create either a sandboxed component or an application that is isolated from its parent component. In an iframe, when a piece of content is embedded from an external source, it is completely controlled by the source instead of the website it is embedded in.
For this reason, it’s important to embed content only from a trusted source. Keep in mind also that iframes use up additional memory. If the content is too heavy, it can slow down your webpage load time, so you should use iframes carefully.
Embedding pages from external sources
First, we’ll learn how to embed pages from external sources, which is probably the more common use case of iframes. Nowadays, you rarely see a web app that doesn’t have any content loaded from an external source.
For example, consider how many YouTube videos you find on webpages, Instagram posts you see outside of the app, Facebook comments sections on blogs, and even ads on webpages. Each of these elements is embedded into the website, which can range in complexity from a single line of code to an entire code section.
We can use the following line of code to add a Twitter Tweet button to a React app:
<iframe src="https://platform.twitter.com/widgets/tweet_button.html"></iframe>
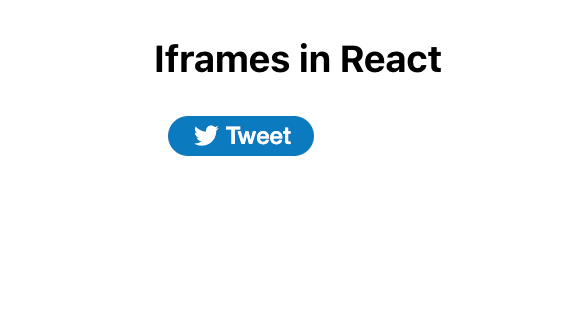
We’ll use the code snippet above in the following code to generate a Tweet button like the one seen in the following screenshot. When a user clicks the Tweet button, the selected content will open in a new Tweet on their Twitter homepage:
function App() {
  return (
    <div className="App">
      <h3>Iframes in React</h3>
      <iframe src="https://platform.twitter.com/widgets/tweet_button.html"></iframe>
    </div>
  );
}

export default App;
iframe tag attributes
Now, let’s review some useful attributes of the iframe tag, which will allow you to modify and customize your iframes. For one, src is used to set the address of the webpage that you want to embed. For example, we can use the src tag to embed a YouTube video as follows:
<iframe src="https://www.youtube.com/embed/uXWycyeTeCs" ></iframe>

srcdoc is used to set an inline HTML to embed. Note that the srcdoc attribute will override the src attribute if both are present. In the code snippet below, we’ll override the src command for a Youtube video with the srcdoc command, which is using a hello message as a placeholder:
<iframe src="https://www.youtube.com/embed/uXWycyeTeCs" srcDoc='<p>Hello from Iframe</p>' ></iframe>
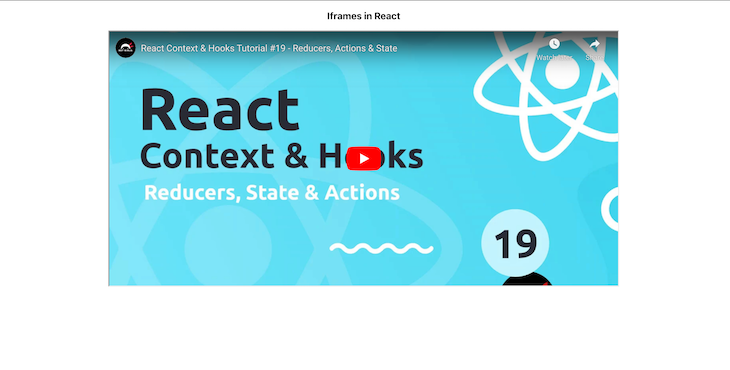
We’ll use height and width attributes to set the height and width of our iframe. The default unit is pixels, however, you can use other units as well. In the code snippet below, we’ll set the dimensions of an iframe that displays a YouTube video, seen in the following screenshot:
<iframe src="https://www.youtube.com/embed/uXWycyeTeCs" width={1000} height={500} ></iframe>
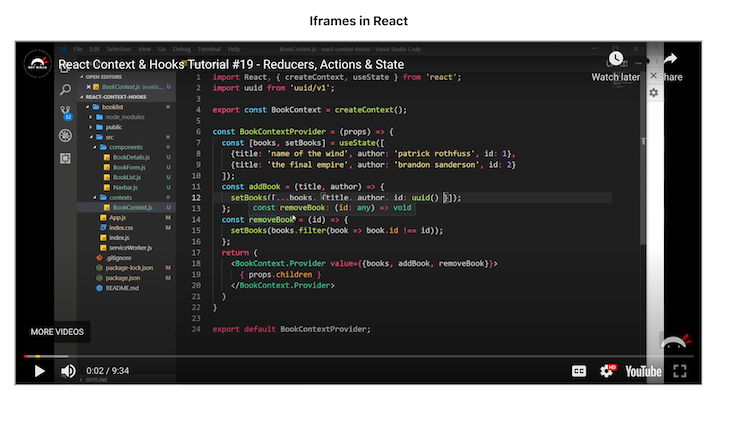
The allow attribute sets the features available to the <iframe> based on the origin of the request, for example, accessing autoplay, microphone, and more. In the screenshot below, we set allow for our YouTube video with the following values: accelerometer, autoplay, clipboard-write, encrypted-media, gyroscope, and picture-in-picture full.
<iframe src="https://www.youtube.com/embed/uXWycyeTeCs" width={1000} height={500} allow="accelerometer; autoplay; clipboard-write; encrypted-media; gyroscope; picture-in-picture full"></iframe>
The title attribute is used to set a description for the content in the iframe. While the title attribute has no effect on the UI of the iframe, it is helpful for accessibility, providing valuable input to screen readers. In the code snippet below, we’re adding a title to our YouTube video:
<iframe src="https://www.youtube.com/embed/uXWycyeTeCs" width={1000} height={500} title='A youtube video on React hooks'></iframe>
Next, we use the name attribute to set the name of the iframe and reference the element in JavaScript.
To set restrictions on the content of the iframe, we use Sandbox. As mentioned earlier in the tutorial, we can’t control the content sent from an external source, however, we can restrict what we accept in the iframe using Sandbox. To apply all restrictions, leave the value of the attribute empty. Or, you can add flags to relax the restrictions.
For example, allow-modals will allow the external page to open modals, and allow-scripts allows the resource to run scripts:
<iframe src="https://www.youtube.com/embed/uXWycyeTeCs" width={1000} height={500} sandbox='allow-scripts allow-modal' ></iframe>
Properly using the Sandbox attribute and its flags can greatly improve your app’s security, especially if the resource you’re embedding is from a malicious source.
To set how the browser should load the iframe content, we’ll use the loading attribute; loading takes either eager or lazy. When set to eager, the iframe is loaded immediately, even if it is outside the visible viewport, which is the default value. lazy delays loading until it reaches a calculated distance from the viewport, as defined by the browser:
<iframe src="https://www.youtube.com/embed/uXWycyeTeCs" width={1000} height={500} sandbox='allow-scripts allow-modal' loading='eager'></iframe>
Rendering a React app or component in an iframe
When you don’t need to control the content that is being rendered in an iframe, the method we just covered is a good strategy. If you want to show your page visitors a video on YouTube or a post on Instagram, you can simply add the URL in the src attribute.
But what if you are building a complex app, for example, a CodeSandbox that allows users to build standalone apps on the same platform, or a chatbot that gets triggered when a user clicks a button? In both examples, you are in control of the content, but you also want to isolate them from the rest of the app.
In this section, we’ll explore rendering a React app or component in an iframe. This is a good strategy when you want to cut CSS excesses or use a full-fledged app in another app without any interferences, especially when you want the content of the iframe to share state with its parent.
Let’s try to render our iframe as a direct child of the iframe:
function App() {

  return (
    <div className='App'>
        <p>Iframes in React</p>
        <iframe >
           <MyComponent />
        </iframe>
    </div>
  );
}

export default App;
However, when we run the code above, we get nothing.
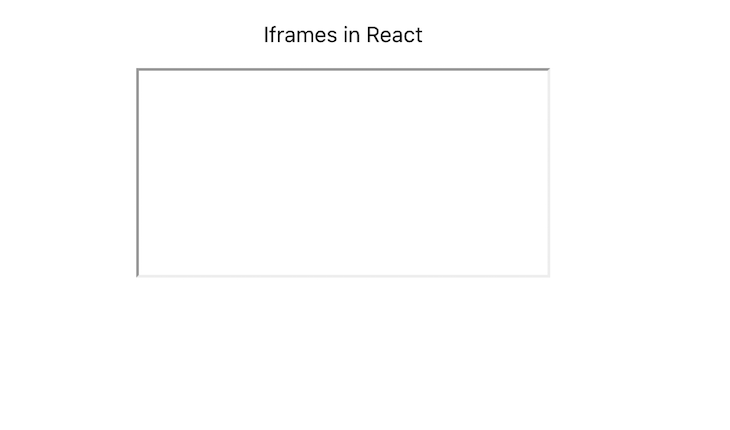
You can only use the src attribute to set the URL that we want to render. Because we are trying to render a component in the same app, the src attribute won’t work.
Alternately, we could use the srcdoc attribute, which takes in an inline HTML to embed. However, we’re then trying to render an entire app or component, with uses extensive and verbose code. We need to find a way to render the component in the iframe body instead of as a child of it. For that, we’ll use a portal.
React portal
According to the React documentation, portals allow us to render children into a DOM node that exists outside of the parent component’s DOM hierarchy. Basically, portals let us render children wherever we want to.
You can create a portal with the following command:
ReactDOM.createPortal(child, container)
In this case, the child is a React element, fragment, or string, and the container is the DOM location or node to which the portal should be rendered.
With a React portal, we can choose where to place a DOM node in the DOM hierarchy. To do so, we’ll first establish a reference to an existing and mounted DOM node. In this case, it would be in the contentWindow of a given <iframe>. Then, we’ll create a portal with it. The portal’s contents are also considered children of the parent’s virtual DOM.
Let’s say we have the following file called MyComponent.js:
import React from 'react'

function MyComponent() {
    return (
        <div>
            <p style={{color: 'red'}}>Testing to see if my component renders!</p>
        </div>
    )
}

export default MyComponent;
Now, let’s create a file called CustomIframe.js and write the following code:
import React, { useState } from 'react'
import { createPortal } from 'react-dom'

const CustomIframe = ({
  children,
  ...props
}) => {
  const [contentRef, setContentRef] = useState(null)

  const mountNode =
    contentRef?.contentWindow?.document?.body

  return (
    <iframe {...props} ref={setContentRef}>
      {mountNode && createPortal(children, mountNode)}
    </iframe>
  )
}

export default CustomIframe;
We created a ref with the useState() Hook, therefore, once the state is updated, the component will re-render. We also got access to the iframe document body, then created a portal to render the children passed to iframe in its body instead:
import './App.css';
import CustomIframe from './CustomIframe';
import MyComponent from './MyComponent';
function App() {


  return (
    <CustomIframe title='A custom made iframe'>
        <MyComponent />
      </CustomIframe>
  );
}

export default App;
You can pass any React app or component as a child of CustomIframe, and it will work just fine!
The React app or component will become encapsulated, meaning you can develop and maintain it independently.
You can also achieve the same encapsulation as above using a library called react frame component. To install it, run the following command:
npm install --save react-frame-component
Encapsulate your component as follows:
import Frame from 'react-frame-component';

function App() {

  return (
    <div className='App'>
        <p>Iframes in React</p>
        <Frame >
           <MyComponent />
        </Frame>
    </div>
  );
}

export default App;
Conclusion
In this tutorial, we explored iframes in React in two different use cases. For one, we learned how to embed external content from a webpage into a web application with an iframe, separating the JavaScript and CSS of the parent and child elements. Secondly, we learned how to isolate certain parts of our app in an iframe.
iframes are a useful element that is essential for developers to learn. I hope you enjoyed this tutorial!
Full visibility into production React apps
Debugging React applications can be difficult, especially when users experience issues that are hard to reproduce. If you’re interested in monitoring and tracking Redux state, automatically surfacing JavaScript errors, and tracking slow network requests and component load time, try wmktech.com.

wmktech.com is like a DVR for web apps, recording literally everything that happens on your React app. Instead of guessing why problems happen, you can aggregate and report on what state your application was in when an issue occurred. LogRocket also monitors your app's performance, reporting with metrics like client CPU load, client memory usage, and more


